PhoneGap is an open source framework for quickly building cross-platform mobile apps using HTML5, JavaScript and CSS , avoiding each mobile platform's native development language.

We know that even with all the benefits of PhoneGap there is not much proper documentation for it. What we find on PhoneGap API Documentations is good for beginners, but it would be more helpful if we had more in depth explanations.
Here we are going to concentrate on how to create a phoneGap/cordova project. For more generic information on PhoneGap before we begin you can check this blog.
PhoneGap projects can be created easily using CLI (Command-Line-Interface) from phoneGap 3.0 onwards. We can create project for any platform using CLI.
Prerequisites
Before we go ahead with the project lets first know the necessary tools for this:
You need the SDKs for each platform you wish to target. Below are the combination of the SDKs and the compatible machine that supports it:
- iOS (Mac)
- Amazon Fire OS (Mac, Linux, Windows)
- Android (Mac, Linux, Windows)
- BlackBerry 10 (Mac, Linux, Windows)
- Windows Phone 7 (Windows)
- Windows Phone 8 (Windows)
- Windows 8 (Windows)
- Firefox OS (Mac, Linux, Windows)
On the Mac, the command-line is available via the Terminal application. On the PC, it's available as Command Prompt under Accessories.
Make sure that you have the latest OS versions for any platform that you are creating the project in as PhoneGap checks for the latest versions for creating the project.
Install Cordova CLI
Cordova CLI comes as a npm package in a ready-to-use format .Follow these steps to install it:
1.Download and install Node.js.(Required to download Cordova/PhoneGap)
2.Download and install a git client.( CLI does use it behind-the-scenes to download some assets when creating a new project)
3.Install Cordova using npm utility of Nodejs
a. on OS X and Linux:
$ sudo npm install -g cordova
b. on Windows:
C:\>npm install -g cordova
The -g flag above tells npm to install cordova globally. Otherwise it will be installed in the node_modules subdirectory of the current working directory.
You may need to add the npm directory to your PATH in order to invoke globally installed npm modules. On Windows, npm can usually be found at C:\Users\username\AppData\Roaming\npm. On OS X and Linux it can usually be found at /usr/local/share/npm.
How to create a Cordova App?
Now the that you have all the required tools to create Cordova project you can go ahead and use Cordova CLI . In few simple steps you will have your first hybrid app ready:
You can open CLI from your Start Menu ->Node.js command prompt.
$ cordova create hello com.example.hello HelloWorld
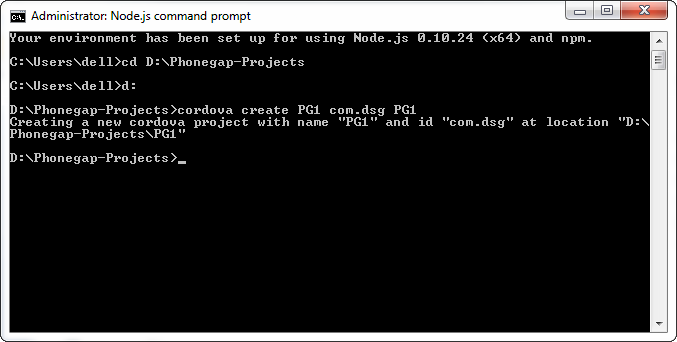
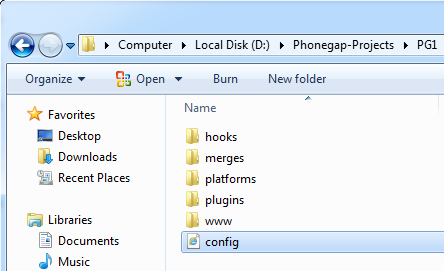
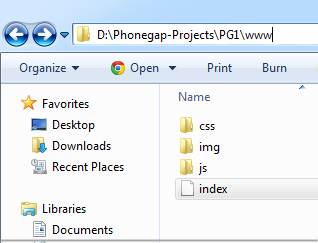
The first argument hello specifies a directory to be generated for your project. This directory should not already exist, Cordova will create it for you. Its www subdirectory houses your application's home page, along with various resources under css, js, and img, which follow common web development file-naming conventions. The config.xml file contains important metadata needed to generate and distribute the application.
The second argument com.example.hello provides your project with a reverse domain-style identifier. This argument is optional, but only if you also omit the third argument, since the arguments are positional.
The third argument HelloWorld provides the application's display title. This argument is optional.
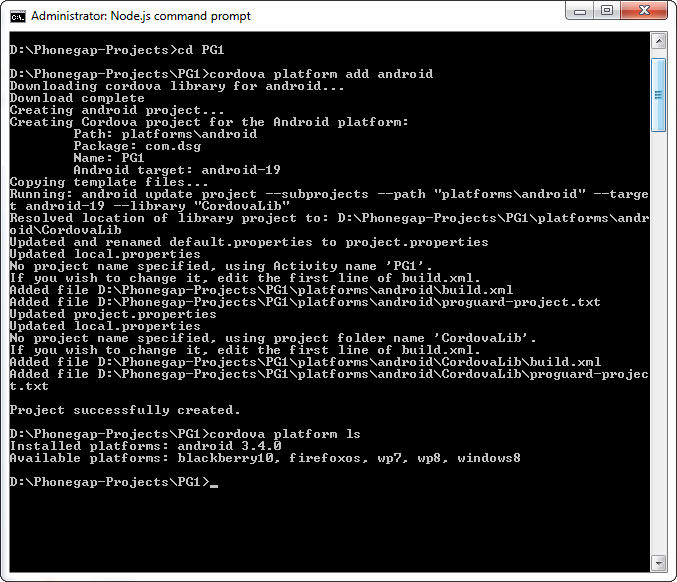
Next you can add the desired platform as
$ cd hello $ cordova platform add ios $ cordova platform add amazon-fireos $ cordova platform add android $ cordova platform add blackberry10 $ cordova platform add firefoxos $ cordova platform add wp7 $ cordova platform add wp8 $ cordova platform add windows8
To check for the platforms add you can use
$ cordova platforms ls
which gives a list of the platforms add to your project.
To remove a platform you can use
$ cordova platform remove blackberry10 $ cordova platform rm amazon-fireos
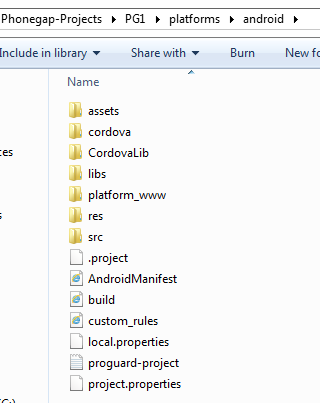
Each platform added, appears as a subdirectory under platforms under your source directory (hello). The www source directory is reproduced within each platform's subdirectory, appearing for example in platforms/ios/www or platforms/android/assets/www. Because the CLI constantly copies over files from the source www folder(hello/www), you should only edit these files and not the ones located under the platforms subdirectories.
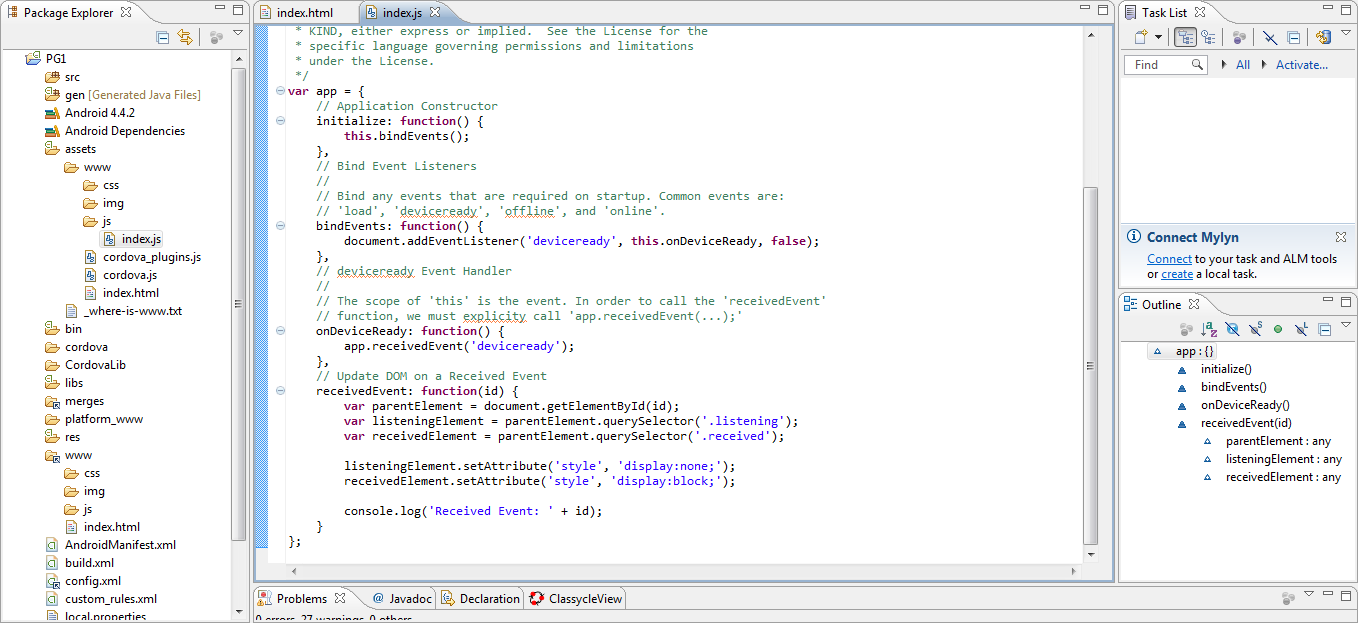
 You can open these projects in the respective IDE’s for easy further modification. In the example Project PG1 since I have added the Android platform I’m accessing it using Eclipse. The other major platforms such as iOS phonegap project can be opened using xcode and Windows phonegap project using Visual studio 2010 Express for Windows Phone.
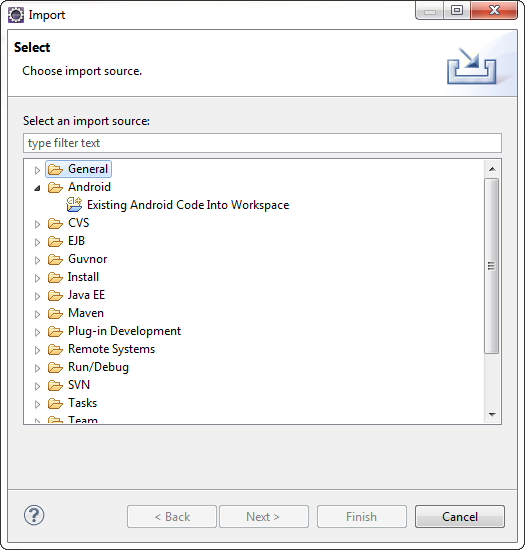
For Android: once you have open your workspace in Eclipse IDE you can import your Android phonegap project (as in the image ). But while importing make sure that you have both, your project and the cordova library for the same (as in the image).
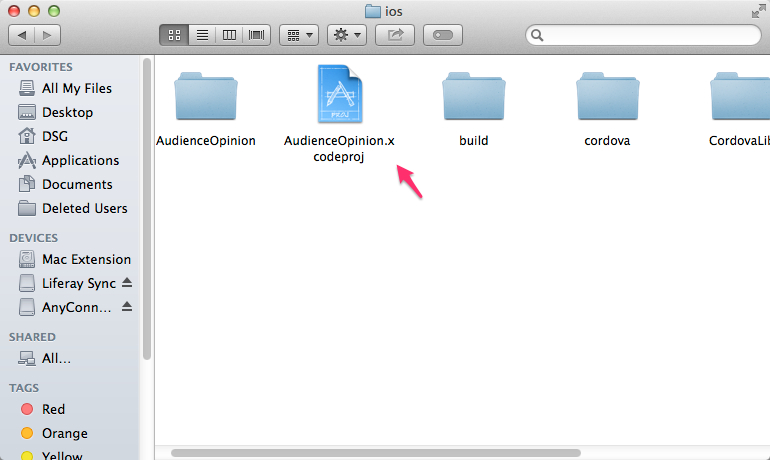
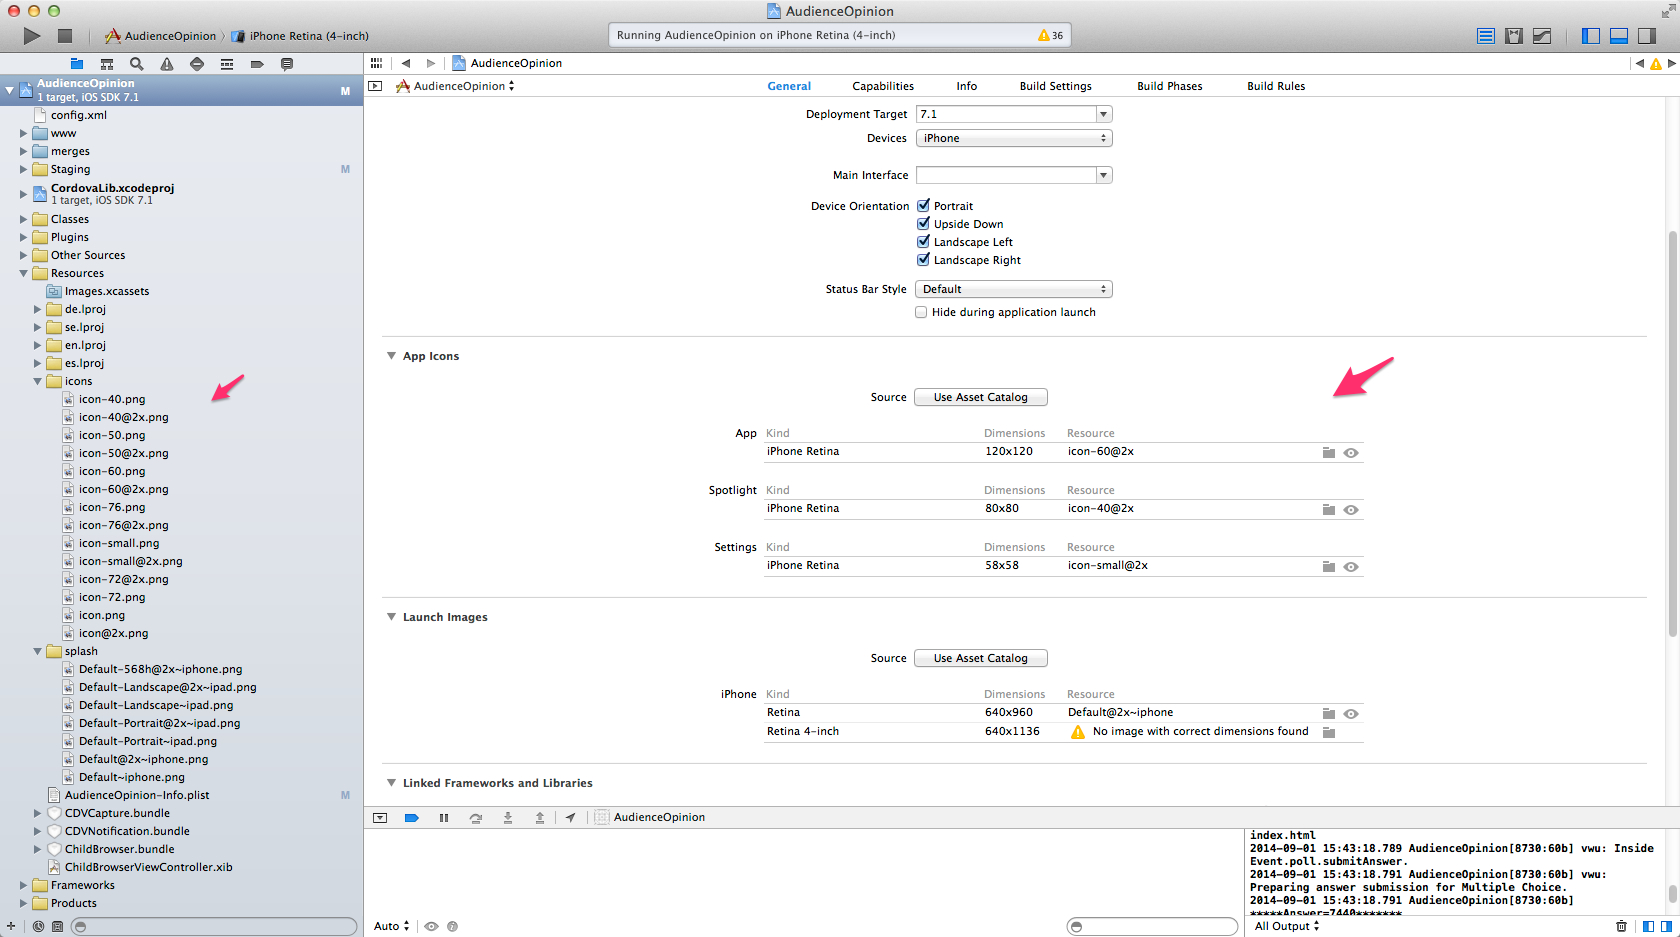
For iOS: You can open the project in xcode by clicking on <projectname>.xcodeproj file in ios folder under platforms directory (hello/platforms/ios).
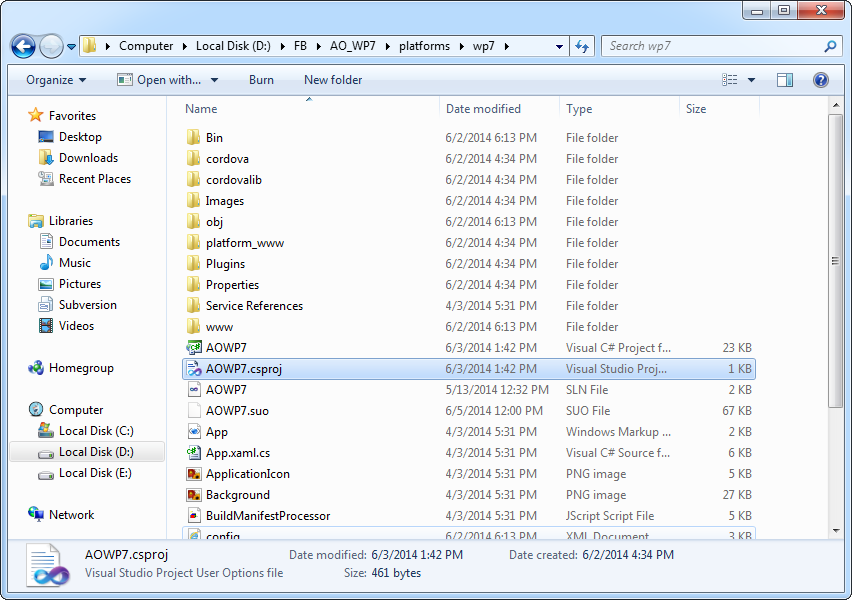
For Windows phone: You can open the project in Visual studio by clicking on <projectname>.SLN <projectname>.csproj file in wp7 or wp8 folder under platforms directory (hello/platforms/wp7)
By default the command "cordova create" generates a skeletal web-based application whose home page is the project's www/index.html file. You can make changes to this however you want.
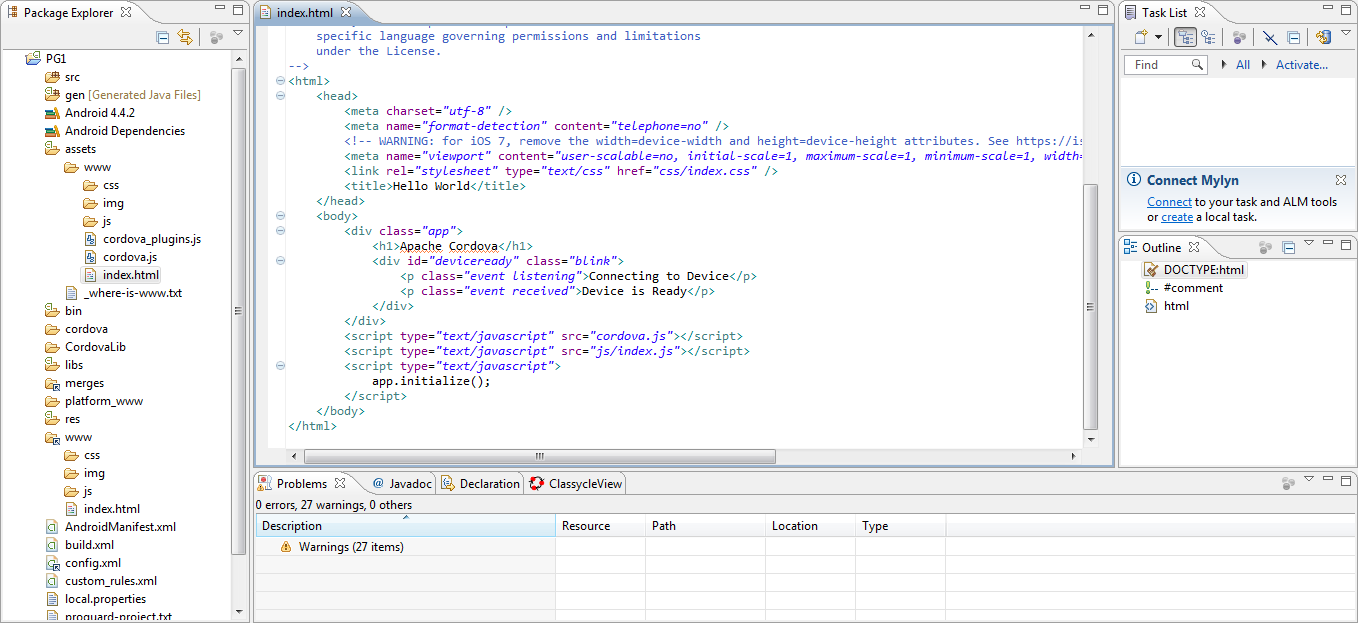
But any initialization should be specified as part of the deviceready event handler, referenced by default from www/js/index.js.
Now before we start running the project lets have a look at the Plug-in Features that you might want to add:
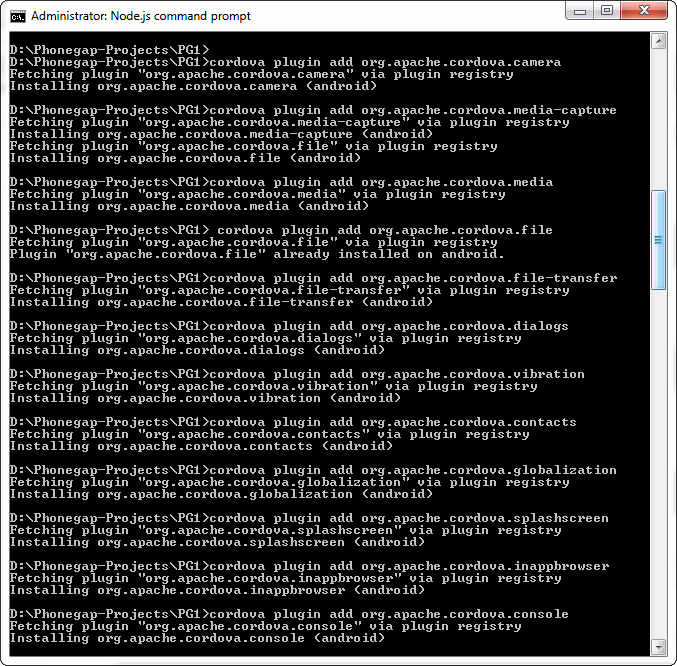
A plugin is a bit of add on code that provides an interface to native components. It might be components like camera, contacts, media, notification alerts , network connection and many other features of the mobile that you may want to use in your app. Below are the commands to add these plugins to your project.
"cordova plugin add" is the command used to add the plugins either from the git repository or your own plugin interface.
- Basic device information (Device API):
$ cordova plugin add org.apache.cordova.device
- Network Connection and Battery Events:
$ cordova plugin add org.apache.cordova.network-information $ cordova plugin add org.apache.cordova.battery-status
- Accelerometer, Compass, and Geolocation:
$ cordova plugin add org.apache.cordova.device-motion $ cordova plugin add org.apache.cordova.device-orientation $ cordova plugin add org.apache.cordova.geolocation
- Camera, Media playback and Capture:
$ cordova plugin add org.apache.cordova.camera $ cordova plugin add org.apache.cordova.media-capture $ cordova plugin add org.apache.cordova.media
- Access files on device or network (File API):
$ cordova plugin add org.apache.cordova.file $ cordova plugin add org.apache.cordova.file-transfer
- Notification via dialog box or vibration:
$ cordova plugin add org.apache.cordova.dialogs $ cordova plugin add org.apache.cordova.vibration
$ cordova plugin add org.apache.cordova.contacts
$ cordova plugin add org.apache.cordova.globalization
$ cordova plugin add org.apache.cordova.splashscreen
- Open new browser windows (InAppBrowser):
$ cordova plugin add org.apache.cordova.inappbrowser
$ cordova plugin add org.apache.cordova.console
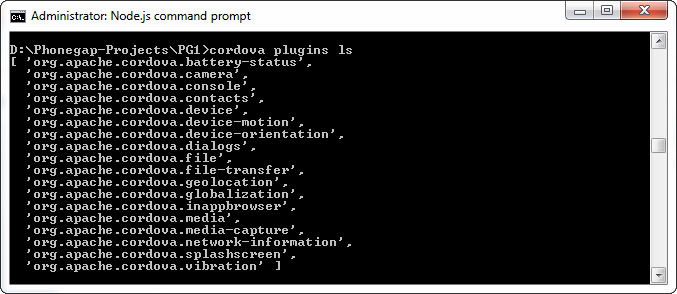
Now to list the plugins:
$ cordova plugin ls
To remove plugins:
$ cordova plugin rm org.apache.cordova.console $ cordova plugin remove org.apache.cordova.console # same
You can also get the plugins of specific versions:
$ cordova plugin add org.apache.cordova.console@latest $ cordova plugin add org.apache.cordova.console@0.2.1
or form Git repository as :
$ cordova plugin add https://github.com/apache/cordova-plugin-console.git
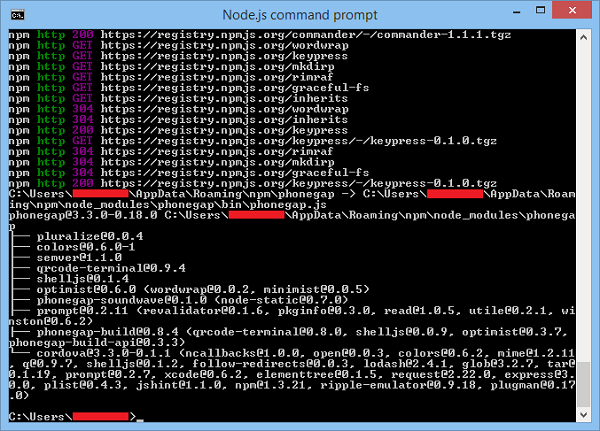
You can add the plugins selectively according to your requirement, for the purpose of demonstration I have added all the plugins mentioned above (as in the image).
Apart from the above plugins you can also add your own plugins or any commonly used external plugins such as facebook plugin or social integration plugin.
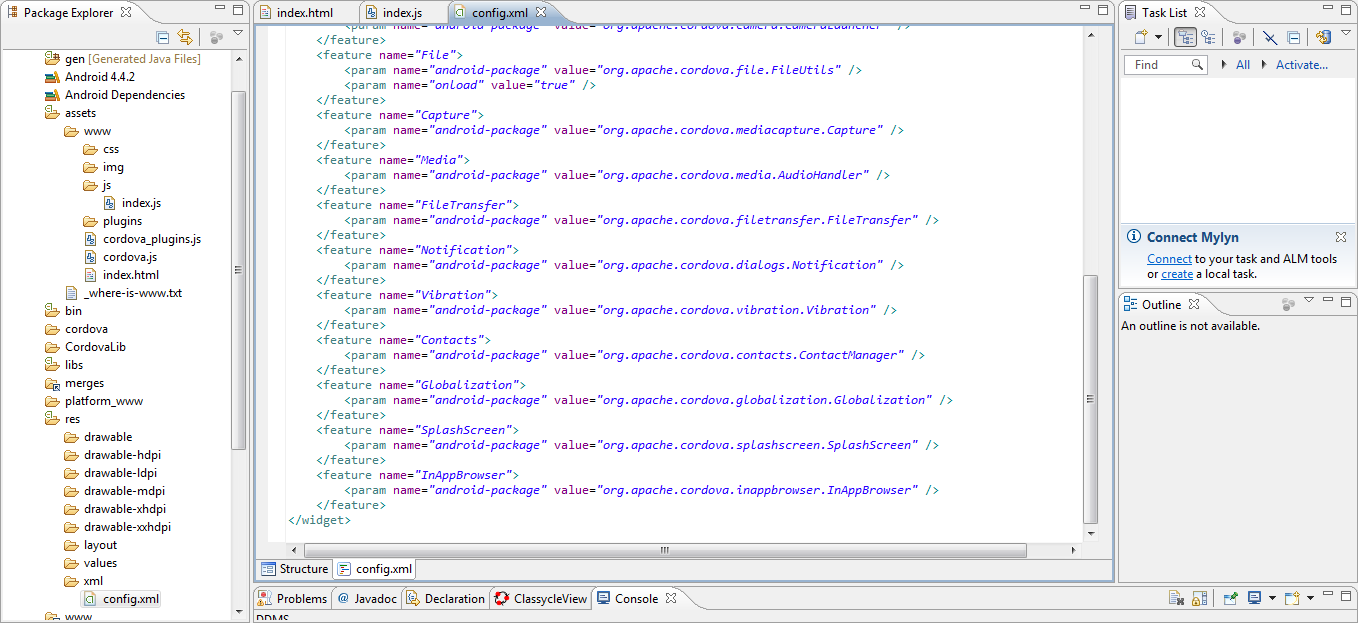
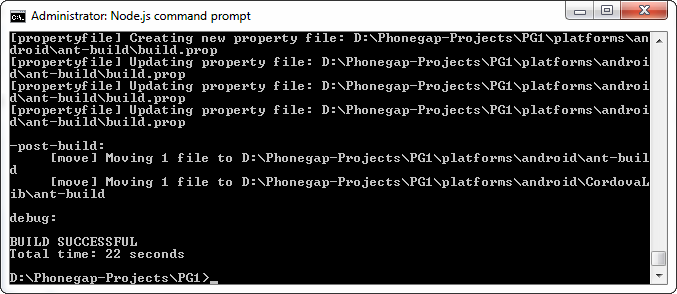
Once you have added all the plugins you require you will have to build the project using CLI. This is important as it will copy the plugins to the respective folders inside the platform directory and also add appropriate tags to the config.xml to represent the plugin. Also it copies changes you have made to any files in the source www folder to the www folder under the platforms directory (platforms/android/assets/www).
To build the app use
$ cordova build
or more specific to the platform as:
$ cordova build android
The build command is a shorthand for
$ cordova prepare android $ cordova compile android
Run the phoneGap app
Now that you have added all the plugins and built it successfully you can now test the application either in Emulator or on Device.
To test on Emulator you need to have an emulator active and then execute the below command from the CLI or you can directly run it from the eclipse select the project->run as->Android Application .
$ cordova emulate android
If you are plugging the device then you can either run the app from the IDE like Eclipse or Xcode or use:
$ cordova run android
If you are new to mobile app development, go through the platform related guides to make sure that the device is recognized by your system, and it also provides information about platform specific settings that might be necessary.
For instance, adding icons and Splashscreen to your app which is displayed as soon as your app is run, this is a common requirement for most apps. Even though there is a common plugin to show the Splashscreen adding the images to be shone is different in different platforms. In Android it might just be enough to provide a new folder res under www source folder containing all the Splashscreen for different resolution whereas in IOS you need to also update those in the project file before running it specifying the correct resolution for the emulator selected and in windows it is as easy as adding Splashscreen image directly in the wp7 folder under platforms directory.
Updating Cordova and Your Project
To update cordova to latest version:
$ sudo npm update -g cordova
To update cordova to specific version:
$ sudo npm install -g cordova@3.1.0-0.2.0
Can also update just the platform by :
$ cordova platform update android $ cordova platform update ios
Conclusion
PhoneGap provides a simple and hassle-free way of creating mobile application for multiple mobile platforms. Since PhoneGap3.0+ the plugins are added externally it has become much simpler to add extetrnal plugins as well and the Project creation is much easier with CLI as it is the same procedure for all the platforms.